安装操作系统
操作系统选择
Proxmox VE 服务器
参考链接:FAQ - Proxmox VE
PVE 有集成的系统镜像,而 PVE 官方推荐最新的 Proxmox VE 9 安装于 Debian 13 发行版
数据库服务器
参考链接:OS兼容性 | PIGSTY
Pigsty 官方推荐安装其系统于 EL9,Debian 12,Ubuntu 24.04 发行版
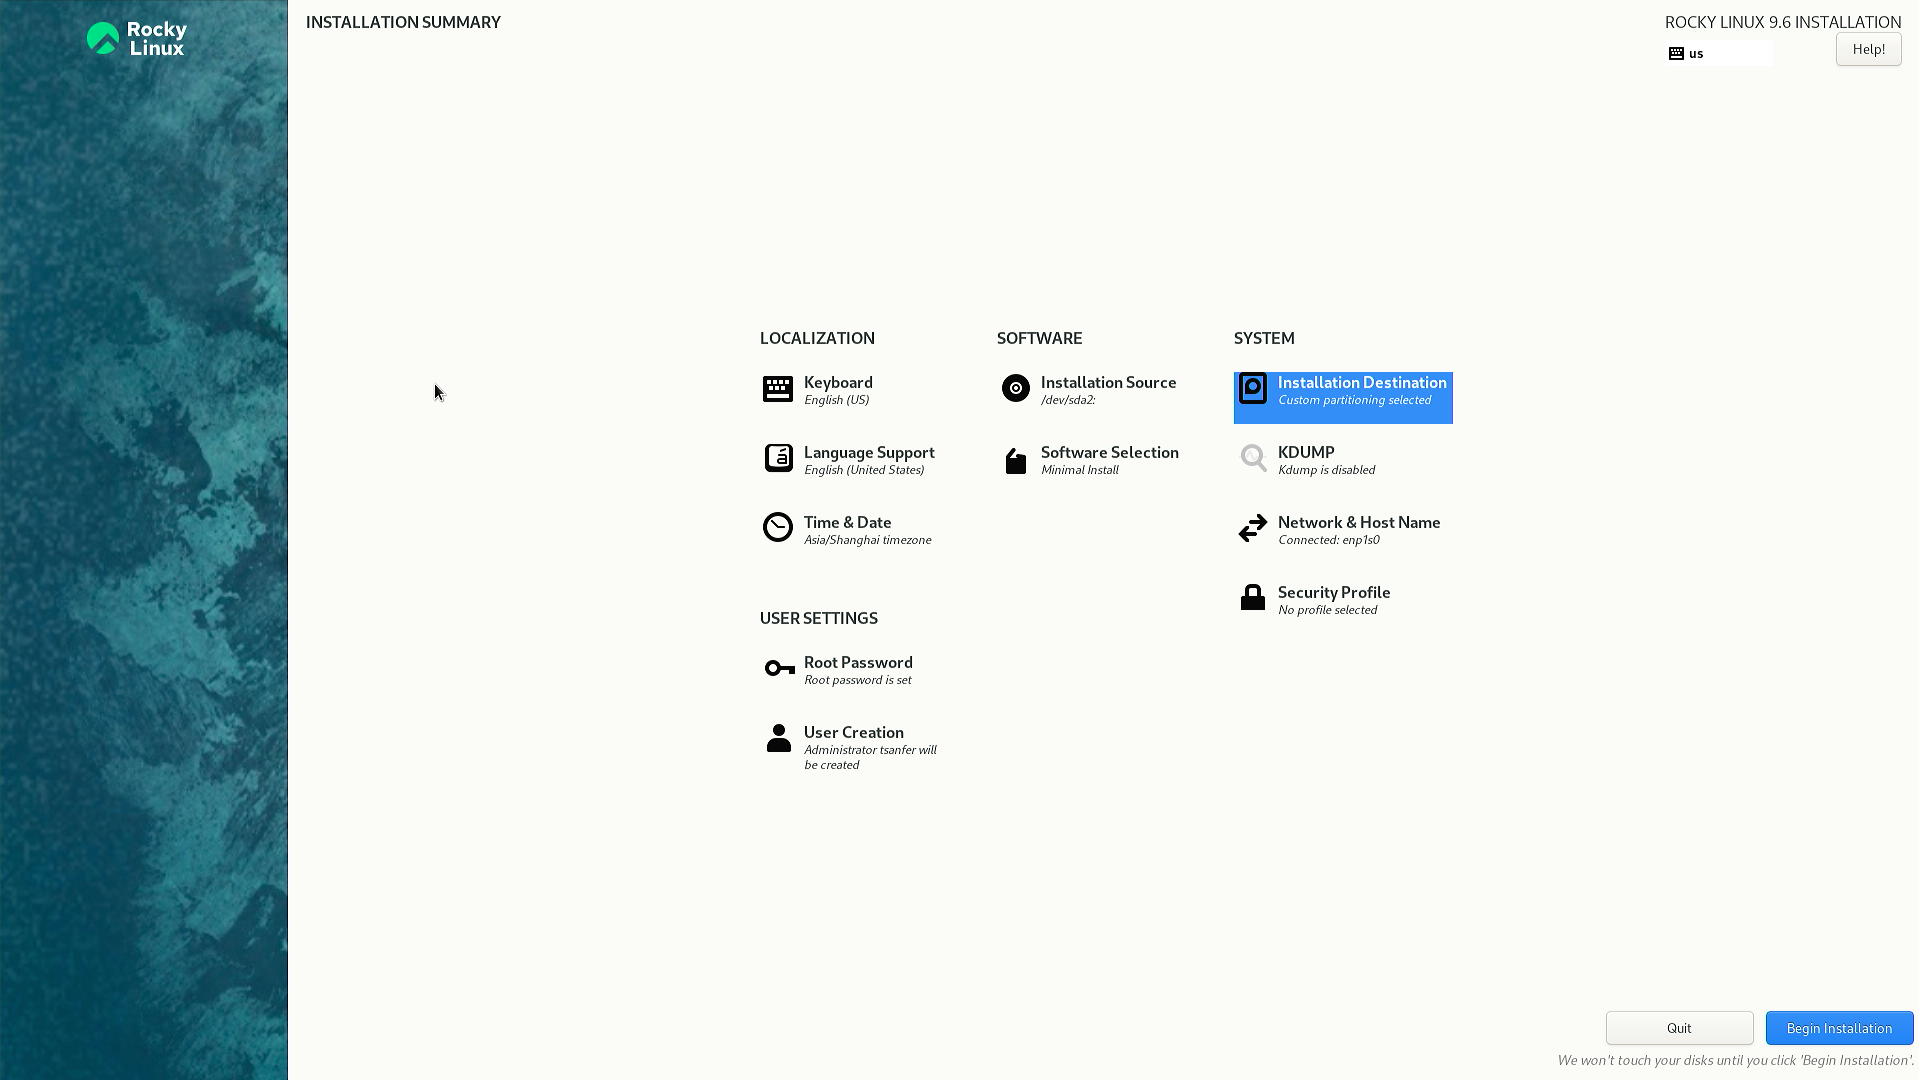
安装 Rocky Linux
数据库服务器安装 Rocky Linux 9 镜像
方式一:系统镜像手动安装
此方式适合未安装操作系统的或无网络连接的情况
关于 U 盘启动盘制作及系统重装可以参考笔者的另一篇文章:Windows 重装系统,配置 WSL,美化终端,部署 WebDAV 服务器,并备份系统分区 | Tsanfer's Blog
Rocky Linux 镜像官方下载地址:Download - Rocky Linux
Rocky Linux 镜像加速下载地址:rockylinux安装包下载_开源镜像站-阿里云
此处以安装 Rocky Linux 为例,其他发行版的镜像安装方式也大同小异。
先将官方镜像文件放入U盘启动盘中,然后在服务器开机时选择从对应镜像启动,之后根据提示安装即可。尽量选择跳过网络更新的设置项,避免网络环境不佳而造成的安装卡顿。

先通过刚刚创建的自定义用户登陆 ssh,并切换为 root
su -- 更换软件源
更换的默认软件源
if command -v curl >/dev/null 2>&1; then
    bash <(curl -sSL https://linuxmirrors.cn/main.sh)
elif command -v wget >/dev/null 2>&1; then
    wget -qO- https://linuxmirrors.cn/main.sh | bash
else
    echo "请先安装 curl 或 wget" >&2
fi
验证效果
grep -E '^\[|baseurl|metalink' /etc/yum.repos.d/*.repo
# dnf -y update- (可选)安装 sudo
某些发行版,比如 Debian 未默认安装 sudo,可手动安装
dnf -y install sudo- (可选)设置 root 的 ssh 密码登陆
某些发行版,比如 Debian 未默认开启 root 用户的 SSH 登陆,可手动开启
# 设置允许 Root 用户登录
cat /etc/ssh/sshd_config | grep -Eq "^[# ]?PermitRootLogin " ; [ $? -eq 0 ] && \
sed -i 's/^[# ]\?PermitRootLogin.*/PermitRootLogin yes/g' /etc/ssh/sshd_config || \
echo -e "\nPermitRootLogin yes" >> /etc/ssh/sshd_config

# 设置密码认证
cat /etc/ssh/sshd_config | grep -Eq "^[# ]?PasswordAuthentication " ; [ $? -eq 0 ] && \
sed -i 's/^[# ]\?PasswordAuthentication.*/PasswordAuthentication yes/g' /etc/ssh/sshd_config || \
echo -e "\nPasswordAuthentication yes" >> /etc/ssh/sshd_config

# 启动/重启 SSH 服务
ps -ef | grep -q ssh ; [ $? -eq 0 ] && \
systemctl restart sshd || systemctl enable --now sshdsu
systemctl enable ssh.service || service sshd restart
之后即可退出当前用户和终端,通过 ssh 以 root 身份访问服务器
方式二:脚本安装
此方式适合已安装操作系统的情况
参考链接:bin456789/reinstall: 一键 DD/重装脚本 (One-click reinstall OS on VPS)
更新软件列表
dnf -y update 下载运行系统重装脚本,此处可自行设置发行版本和用户密码
curl -O https://cnb.cool/bin456789/reinstall/-/git/raw/main/reinstall.sh || wget -O reinstall.sh $_
bash reinstall.sh rocky 9 --password 123456 --ssh-port 22 --web-port 58080
重启
reboot系统重装过程可通过链接 SSH 或主机的 web 端口查看,比如:http://192.168.0.3:58080
# 重新连接 SSH 后查看安装进度
tail -fn+1 /reinstall.log
安装完成后,系统会自动重启
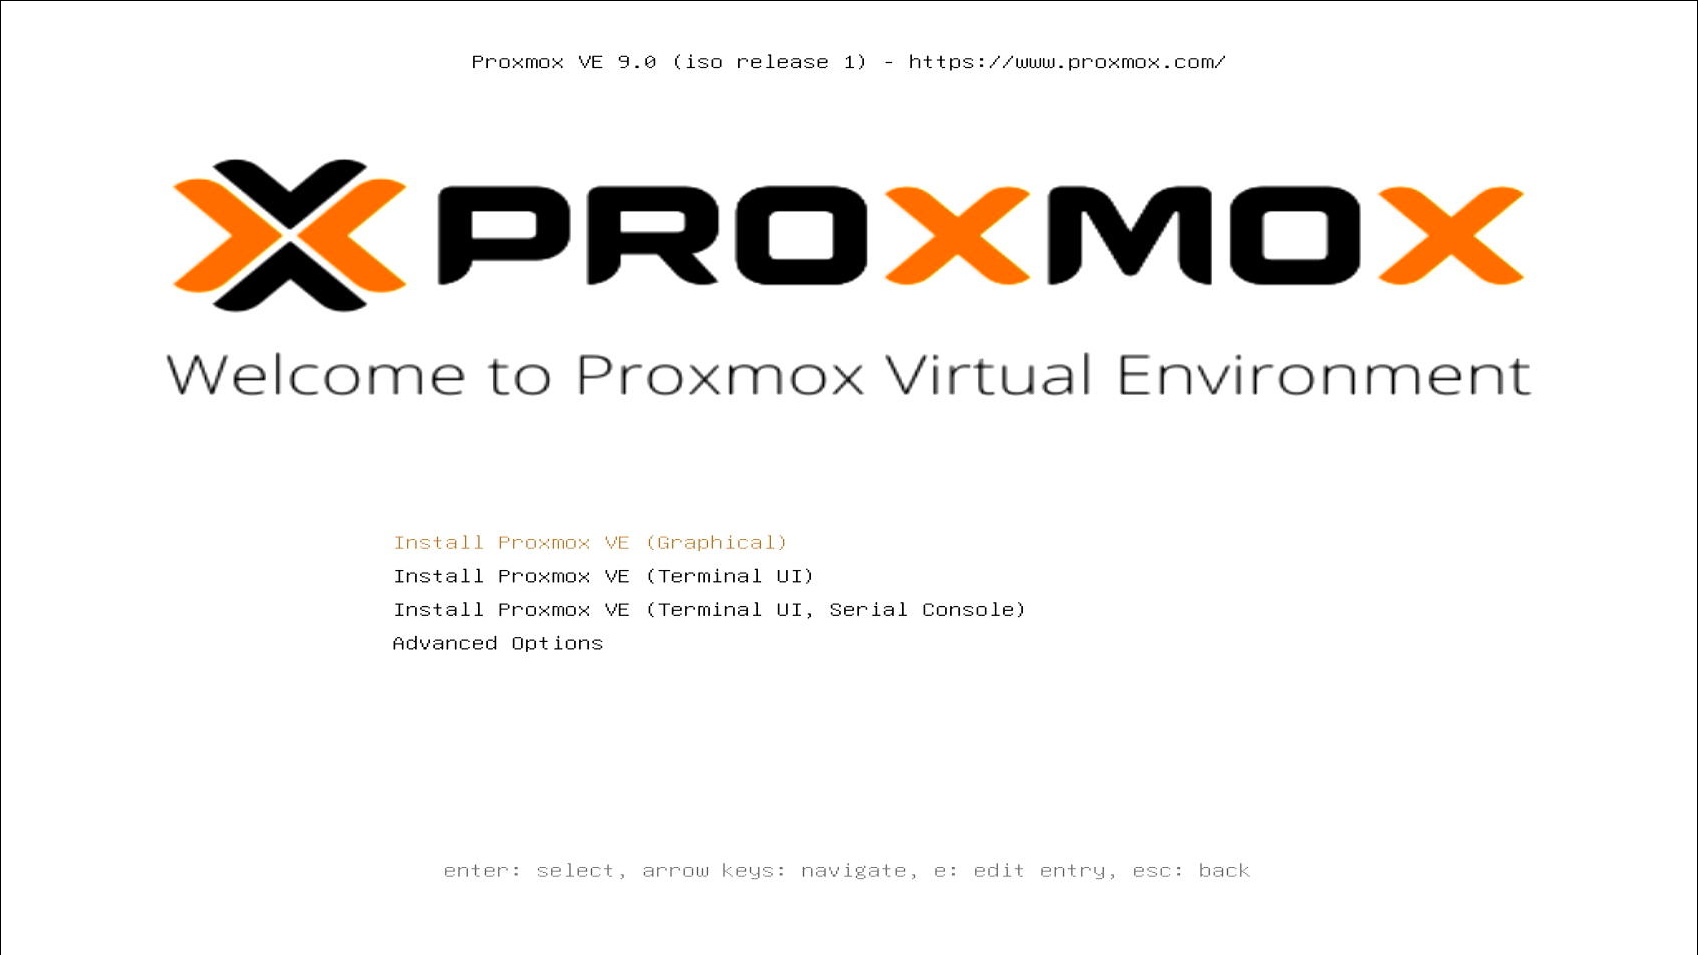
安装 Proxmox VE
超融合集群服务器安装 Proxmox VE 9 镜像
参考资源:
GitHub - sqlsec/PVE: 国光的 PVE 生产力环境搭建教程
方式一:系统镜像手动安装
此方法选择 ext4 或 xfs 做文件系统时,会默认创建 LVM 逻辑卷管理
PVE 镜像官方下载地址:ISO - Proxmox Virtual Environment
PVE 镜像加速下载地址:Index of /proxmox/iso/ | 清华大学开源软件镜像站 | Tsinghua Open Source Mirror
下载官方镜像,并制作 U 盘启动盘,插入待安装的主机,进入主机 BIOS。选择 U 盘引导启动,之后可根据系统提示安装设置 PVE。

PVE 安装完成后进入本机的 8006 端口就可在网页端使用 PVE,比如:https://192.168.0.2:8006
方式二:脚本安装
参考教程:一键虚拟化项目 - 库苏恩
推荐在纯净的 Linux 发行版中运行脚本安装 PVE
此种安装方式无需外接显示器与键盘,可远程安装,在机器主板未集成 IPMI 等带外管理模块时,使用此方式安装更为便捷
- 安装 PVE 脚本依赖
进入刚重装好的 debian 系统,安装依赖
apt -y update && apt -y install wget curl- 检测环境
# bash <(wget -qO- --no-check-certificate https://raw.githubusercontent.com/oneclickvirt/pve/main/scripts/check_kernal.sh)
bash <(wget -qO- --no-check-certificate https://cdn.spiritlhl.net/https://raw.githubusercontent.com/oneclickvirt/pve/main/scripts/check_kernal.sh)- 安装 PVE
# curl -L https://raw.githubusercontent.com/oneclickvirt/pve/main/scripts/install_pve.sh -o install_pve.sh && chmod +x install_pve.sh && bash install_pve.sh
curl -L https://cdn.spiritlhl.net/https://raw.githubusercontent.com/oneclickvirt/pve/main/scripts/install_pve.sh -o install_pve.sh && \
  chmod +x install_pve.sh && \
  bash install_pve.sh
脚本运行完毕后,执行 reboot 重启系统,然后再次使用 SSH 登录,等待至少 20 秒后,若系统未自动重启,则再次执行此脚本
bash install_pve.sh期间可设置本机的主机名,只能为英文和数字,比如:PVE1
后续可手动更改主机名:
sudo hostnamectl set-hostname your-new-hostnamePVE 安装完成后进入本机的 8006 端口就可在网页端使用 PVE,比如:https://192.168.0.2:8006